Monday, 2 April 2018

Infinity: B4ckd00r Challenge - Nomads vs (Old) JSA, Comms Centre


Late to the club due to work commitments, I arrived to find my opponent khayne666 had not yet made it to the club either - and there were already six games of Infinity going on. So terrain was going to be a challenge.

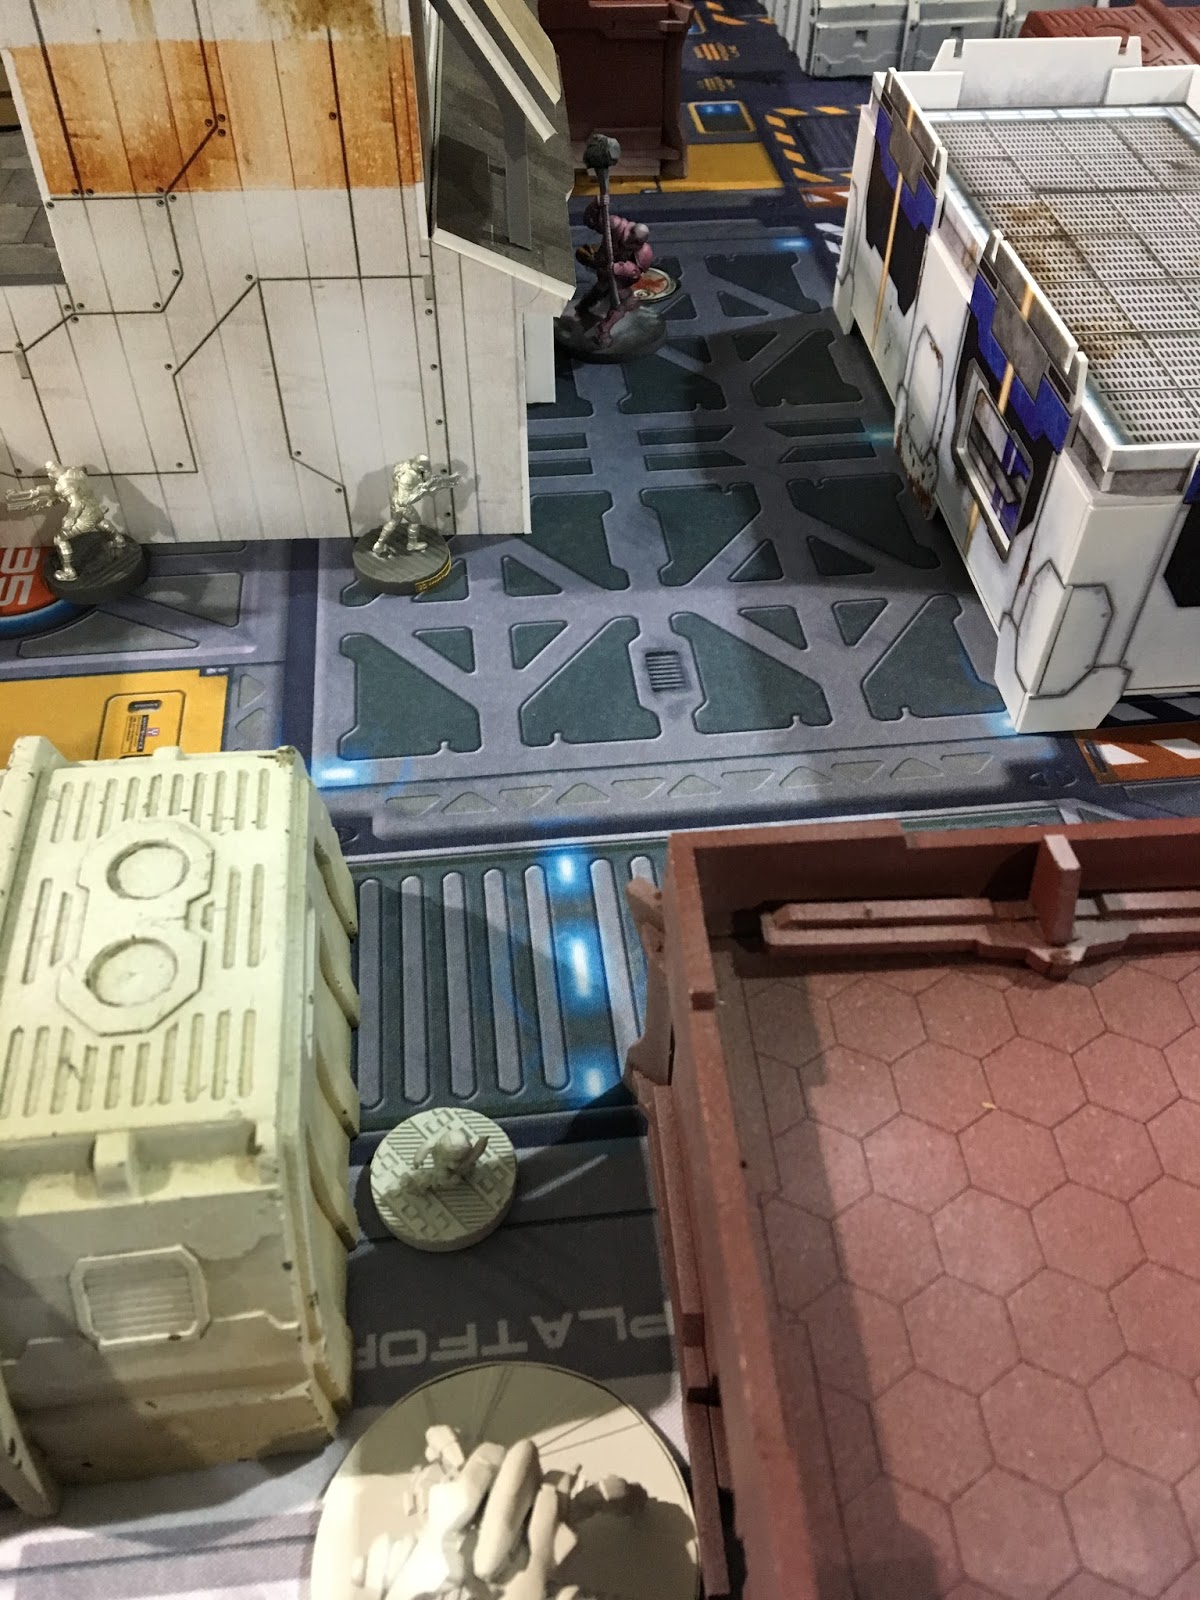
Digging through the back of the terrain box storage cage, I found two boxes of 40K tables that, combined, just about made an Infinity table, and with permission from the duty committee member, cobbled a table together. (There is a "one table, one box of terrain" rule to avoid things being muddled up, but a quick contract threatening the forfeiture of my soul if I messed up putting things away later, we were good to go.) The terrain is mostly pre-painted stuff, with some from Gamemat.eu and some from Tablescape.


Khayne666 was running the old JSA list, just before it split from Yu Jing. We were playing the mission Comms Centre, where the main objective is flipping more of the nine consoles on the field than your opponent. Due to the lack of terrain, we used my AD&D dice for the consoles.

If you're interested in my army, you can find the details here.

After my demolition by Riker earlier in the month, I was keen to have more ARO pieces, so took a Warcor and a Total Reaction Remote to provide some reactive turn control. I was up against a bike heavy JSA list with a defensive Keisotsu link sitting in the back field.


Having set up late, there aren't a huge number of pictures. One of the first casualties was my Total Reaction Remote, neutralised by an enthusiastic biker. I was down on consoles quickly, as a biker Hacker ran around flipping many switches very quickly.


On my turn, I got a bit of revenge on one of the bikers who'd stood a little too close to a Morlock and was swiftly shanked up.


With little achieved in my turn other than some moving about and the light murder of some Keisotsu who'd forgotten to lie down by my Intruder HMG


I finished up the turn by dropping the Kriza Boracs into Suppressive Fire mode...


Which promptly resulted in some bikers nervously hiding behind a container.


They took a couple of shots at the Intruder, failing to kill him but encouraging him to keep his head down.


Finally, the Spitfire biker made a break for it, and the dice were not kind to me.


The Morlock continued their biker kill streak, taking out a second.


Leaving some space for the Interventor to head up the field and flip a switch. Finally, I was getting somewhere!


The Clockmaker got the Lunokhod back online...


While the doctor got the Kriza back up.


With both of us running out of orders, a Ninja took out the Morlock and the Interventor, and turned their switches back again.


My Spektr Forward Observer broke cover and made it to a console, flipping the switch but too little too late as a Raiden noticed him and got a lucky hit in. It was all too much and I couldn't swing back the console tide or make it to the Designated Target with my remaining orders.

In the end, khayne666 scored 4 points for having more connected antennas, while I'd scored my Classified for 1, and murdered way more specialists for a further 2... He only had 88 points left on the table to my 139, but he'd got the job done.

This was my first time playing Comms Centre and I needed to focus in on the mission more - I spent too long on removing blockers to do the mission later and left myself without enough order and resource to get the job done. Khayne666 has broken a solid losing streak, much of it through the secret combination of "having a plan" and "writing a list to suit the mission". He even read the mission in advance this time! Solid congratulations for a well deserved win.

Monday, 26 March 2018

Infinity: B4ckd00r Challenge - Unveiling


As part of the B4ckd00r challenge, a new mission, Unveiling, has been released. In it, you have three civilians on the board, one of whom is the target and the other two are decoys. You need to hack consoles to find out who the target is, then kill the targets and the decoys - but not before!

I was playing Riker from HATE club, and he won the first turn.


With Yu Jing gaining the first turn, I bunkered down my forces. I left my Spektr Forward Observer in hidden deployment behind the real target, who is on the right behind the building with a sloped roof. My other two targets are tucked up behind the warehouse with the orange stripe and the air conditioning unit on top of it.


The Yu Jing MSV2 remote ran up and took out the two decoys.


A Su Jian ran up onto the roof a tall building using Climbing Plus. It went for the last target, but my Spektr managed to Flash Pulse it and landed a critical hit. The Spektr was then taken out - I think by the MSV remote?


I brought my Iguana out to try and cause some damage and inhibit enemy movement. Unfortunately, it wasn't enough, and it was taken out.


Before long, I had a handful of figures left. It wasn't enough to punch through to the consoles, leaving Riker with a strong 10-0 win.

So, two lessons here. One, I was lacking in ARO pieces to inhibit my opponent's movement on the first turn. The other thing was the mission really favours getting control of the consoles first and making it hard for your opponent to do it in return - meaning if you lose initiative, you need to have strong ARO pieces. Something to definitely work on in future.

Monday, 19 March 2018

Infinity: Encountering the JSA Uprising


The world of Infinity has become even more interesting recently. Alongside the B4ckd00r event, Corvus Belli have announced a new book, Uprising. As part of the book release, it's been announced that the Japanese have risen up against Yu Jing. They've now moved to the Non-Aligned Armies, leaving Yu Jing without the Japanese.

I arranged a demo game with essexdave, one of the War Cors, who has got early access to the new JSA army box. I took an assortment of Nomad troops for a quick game of Capture and Protect.


The JSA won first turn, and infiltrated a TO camo marker into the ground floor of a building right by my Taskmaster with HRL.


Then a Unit-9 with Heavy Rocket Launcher revealed from limited Camo and shot the Taskmaster - it didn't cause the Taskmaster any damage, but it cleared off the Koalas.


Free from the antipersonnel devices, the Oniwaban ran out from the ground floor of the building and cut the Taskmaster in half  with it's Monofilament blade.


It then ran around to take out the Lunokhod, but the Lunokhod passed it's armour roll and burned the Oniwaban to ash. The new JSA biker model then rushed up and grabbed the beacon.


The JSA biker then, despite the penalty to dodging, passed all it's dodge rolls, using Kinematika to escape across the board.


Finally, it handed off to the new Heavy Infantry, and I wasn't quite able to get close enough to make it drop the beacon. I had a Lieutenant order that could hack it, but none of the programmes would put it into a Null state to make it drop the box.

All in all, I'm very impressed by the power of the new HI and biker. The Unit-9 are strong, but I had the right tools to counter them. I still need to work out how to address something like an Oniwaban hitting my lines when my opponent has first turn. Still a lot to learn!

Sunday, 4 March 2018

Infinity: B4ckd00r Challenge - The Grid


 Recently, the Infinity competitive scene has had a new addition in the form of "Challenges". In short, these are story events which are recorded internationally and have an impact on both story and ongoing play.

The first challenge is the B4ckd00r crisis. In canon, a whole bunch of incriminating evidence has been released in encrypted files and threatens the big political players of the Human Sphere. If you play certain missions as an ITS registered game, then your faction can recover some of this missing information. The faction that has recovered the most data by the end of the challenge avoids consequences - and the other factions lose access to a named character who is somehow implicated in the scandal for a currently unknown length of time.

I laid down the challenge to HATE and kaizer82 took up the challenge with his Steel Phalanx. We picked The Grid as a mission, which neither of us had played before, and I decided to take the punchy and direct forces of Corregidor.


The objectives of the Grid mission are to activate or Forward Observe as many of 9 consoles as possible, and then, from the second turn onwards, blow them up while you've got control of them. You also need to shank up the Designated Target, preferably with your own Data Tracker.

The Steel Phalanx took the first turn and opened with  a link team of Thorakitai Forward Observers running around and Observing as many consoles as possible. This was a big lead I was worried about being able to catch back up from.


With as many consoles flipped as possible, they settled into cover to await my counter attack, with at least one demo charge placed on a console to detonate next turn, and a landmine set up to impede my advance.


At the end of the first Steel Phalanx turn, they'd set up an impressive lead with eight of the nine consoles owned by them.


I decided that before I started taking too many casualties, I should make sure that the enemy Designated Target went down. I sent Senor Massacre forward with his Jaguar team under cover of smoke to get the job done. Massacre was the Data Tracker, so he'd have to be the one to get the kill in.


Clearing out a couple of the Thorakitai on the way, Massacre dropped an Eclipse Grenade to hide from the Agema sniper covering the Designated Target, and ran in to get the kill. With the target down, he took an opportunistic pop at Ajax, but missed and took an explosive hammer blow to the head, putting him out of action, but with his job done.


Meanwhile, I moved up the Wildcat Haris team to cover my Designated Target and make sure they were as protected as possible.


Phoenix decides that the surviving Jaguars need to not be surviving, and hits them all with incendiary rockets, leaving nothing but ash.


Cut to my turn two. My Intruder advances up and fills Phoenix full of holes, while an Alguacile Forward Observer starts getting some of the consoles flipped to me.


An Ekdromoi Hacker had dropped into my back field and caused some significant damage, although one of the Alguaciles caused some mischief by reacting to them by dropping a Deployable Repeater, keeping them locked down and afraid of my Wildcat Hacker melting their brain.
 

For the final turn, Ajax ran up to destroy some more consoles, but misjudged a second move and took a Hacking attack to the face, leaving him isolated and unable to take any further actions that turn.


My Wildcat Lieutenant and Lunokhod then headed up to the consoles, blowing them both up to scrape a win (Destroyed same number of antennas - 2pts, Killed Designated Target - 2pts, With Data Tracker - 2pts, compared to More Designated antennas - 3pts, Destroyed same number of antennas - 2pts).

I had a little moment of panic after the game when I realised I'd screwed up and thought it was one action to detonate all your D-Charges, rather than it being a separate order for each one. However, running over the order spend in my head, I could have achieved the same number of D-charges placed and detonated by using my orders in a slightly different way, so it didn't materially affect the result.

This was definitely a tough mission and game, with it really coming down to the last rolls of the dice. My learning points on this mission would be to be more aggressive with Forward Observing earlier on and to bring more options for destroying the antennas once the observing is done - D charges are incredibly order intensive!

Monday, 5 February 2018

But what about your painting, TRO?

A few of my regular readers may recall that in the dim and distant past, I used to post painted models to this blog, rather than just lots of battle reports (mostly Infinity, all unpainted).

Well, there's a reason for that, best illustrated by a picture:


The Mess has gotten worse. My wife can no longer get to the cupboard we keep the coats in because there's too much junk in the way.

What happened?

Well, I decided to sell some stuff to declutter, but didn't get it out first - which meant in turn that when I went to search for it, I made a mess. Worse, I still haven't found half the things I sold, so they're sitting somewhere in that pile with someone willing to use them!

So, rather than painting pictures, for a while you're going to get a few pictures of my quest to downsize the miniatures collection, stop hoarding, and get back to a manageable backlog.

Lesson One

Don't sell things until you've found them. Get stuff out, sort it. Box up the stuff you're going to sell, then sell it.

Lesson One A

Start on the quick wins - in this case Betrayal at Calth and the Chaos half of Dark Vengeance were big, bulky, and easy to find.

I still have some battle reports to post, but expect to see them interspersed with articles about the Purge Of Stuff.

Monday, 29 January 2018

Wayland New Year's Bash Part 2: The Rest of the Games


Moving on to the second game, and I was up against Caelcifer playing his Hassassin force. The mission for the second round was Decapitation. I had a different list this time, using the Fireteam: Core of Senor Massacre and the Jaguars, a Haris of Wildcats with a Spitfire, and a Mobile Brigada Lieutenant.


My opponent won initiative and chose deployment, making me deploy first and giving me the deployment zone with fewer vantage points. I pushed the fireteams up my deployment zone on either side.


Meanwhile my Lieutenant was at the back of the field, intending to have good fields of fire for the inevitable Fiday trying to get an early game assassination. A couple of cheap Alguaciles covered the approaches to the Lieutenant to give him a warning if the opportunity presented itself.

Looking at my opponent's deployment, he was running a twenty model list with a defensive Core Fireteam and Haris all camped up on a building with the Lieutenant lying on a second storey rooftop with no ladders...


I snuck Senor Massacre up the left hand side, but didn't have enough orders to get past the network of mines and infiltration markers scattered around Haqq's Designated Target.


I'd early on made the mistake of having my Iguana get into a gun fight with a linked missile launcher and stuffed it, and then the Operator got isolated by a Ghazi Muttawi'ah.


Once isolated, he headed up and finished the Operator off, although it took him going Dogged to manage it.


Another Ghazi Muttawi'ah went Dogged to proper mess up the Wildcat Haris.


A Fiday revealed itself to take out one of the perimeter Alguaciles. Still, he did his job and the Mobile Brigada was able to smoosh the Fiday on my turn.


Up in the tower, my Alguacile Hacker was shot up by an infiltrating Daylami.


There was no way I could drop my Spitfire Hellcat right up close to the Lieutenant without dying, so I dropped him nearby and shot dead a whole bunch of link team in the back - but didn't have enough orders to get closer.


The infiltrating Daylami had a Panzerfaust, and my Lieutenant was down...


An HMG came to take care of the Hellcat, and that was about it. It was a 10-0 loss and I had nothing left alive on the table...


Next up it was essexdave - International Number 1. He was running Vanilla Aleph and it was a nice and simple Annihilation for the end of the day. Patrocles came up to try and mush up my entire link team but I shot him in the face with a boarding shotgun and he went away.

Patrocles seems to have no luck.


Achilles then got mad and smooshed my Iguana.


I was facing a Posthuman Mk5 with Heavy Rocket Launcher, Agema Marksman with Rocket Launcher and Atalanta in good sniper spots on the other side of the table. I worked out this beautiful elegant plan. My Jaguars threw smoke to hide them from the Mk5, then Massacre snuck out and threw an Eclipse Grenade that hid the Intruder from one of the two snipers but not the other...


I then speculative fired smoke over the Intruder to hide him from Achilles . . . and realised he was in the same order group as the Jaguars, and that was my last order.

For fuck's sake.


My Wildcat Heavy Rocket Launcher got into a fight with the Mk5 and lost.


Ajax came to say hello.


And eventually, with a few casualties, he went down.


Achilles then rampaged around, taking out more and more models...


Until my Wildcat Lieutenant took him down on the last order of the game.

Sadly, I'd just not done enough damage here and lost 9-3. I finished 10 out of 14. The drop of 4 ELO dropped me another good hundred people in the rankings, and I'm now sitting at 2,191th worldwide...